If you are pricing a garage, barn, RV cover, or workshop, the steel building installation process matters just as much as the building itself. A great design can still turn into a frustrating project if the site is not ready, measurements are off, or installation details are handled late. Knowing what happens before, during, and after setup helps you make better decisions and avoid the delays that cost time and money.
Why the steel building installation process starts before delivery
Most buyers picture installation day as the start of the job. In reality, the project begins well before the crew arrives. The biggest problems usually come from the early phase – permits, site access, grading, foundation work, and confirming local code requirements.
That is why planning matters. A steel building is only as good as the surface it stands on and the measurements it is built around. If your lot is sloped, soft, or hard to access with delivery equipment, those issues need to be addressed first. If your county requires engineered plans or specific anchors, that needs to be settled before manufacturing and scheduling.
For homeowners and landowners, this is where expert guidance saves headaches. It is much easier to make smart adjustments on paper than after materials are delivered to your property.
Step 1: Finalizing the building design
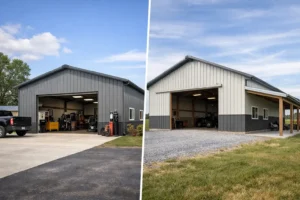
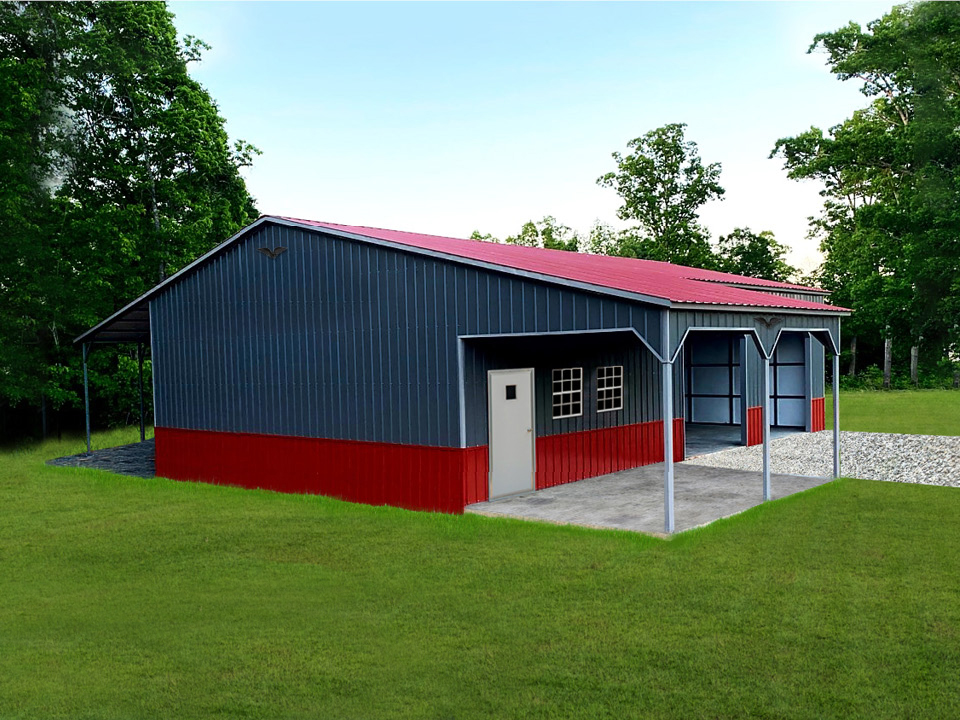
Installation starts with the right building package. That means confirming width, length, height, roof style, panel colors, trim, doors, windows, and any custom features. It also means matching the structure to the way you plan to use it.
A livestock shelter has different needs than a residential garage. A workshop may need enclosed sides, extra height, and framed openings. An RV cover needs clearance that works in the real world, not just on a spec sheet. The right design reduces change orders later and makes installation more straightforward.
This stage is also where buyers should think carefully about future use. It can be worth adding a little extra width or height now if it prevents outgrowing the building in a year or two. On the other hand, oversizing a structure without a clear purpose can add cost to both materials and site prep. The right answer depends on your property, your budget, and how the building will actually be used.
Step 2: Permits, codes, and engineering requirements
Before delivery is scheduled, local requirements need to be clear. Some areas are simple. Others require permits, engineered drawings, wind and snow load compliance, or specific foundation details.
This is one of the most overlooked parts of the steel building installation process. Buyers often assume every metal building can go up the same way in every county. That is not how it works. Local jurisdiction, weather exposure, and intended use can all affect the approval path.
If you are installing a steel structure in a high-wind region or an area with heavier snow loads, that can affect framing, anchoring, and roof design. If the building is going on residential property, setback rules and zoning may also come into play. Getting clarity early keeps the project moving and helps avoid expensive corrections after the fact.
Step 3: Preparing the site
The site has to be level, accessible, and properly sized for the structure. This sounds simple, but it is often where delays happen. A building site may need vegetation cleared, soil compacted, drainage corrected, or the perimeter expanded to allow safe installation.
A common mistake is preparing the pad to the exact building dimensions and nothing more. Installers need working room around the structure. Delivery trucks need access. If the site is tight, muddy, or uneven, setup becomes slower and more complicated.
Drainage deserves special attention. Water pooling around the base of a steel building shortens the life of the site and creates ongoing maintenance problems. A good pad should not only support the structure but also direct water away from it.
Step 4: Choosing the foundation or mounting surface
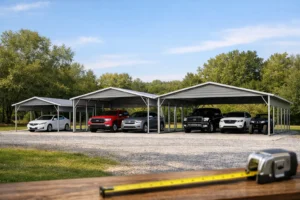
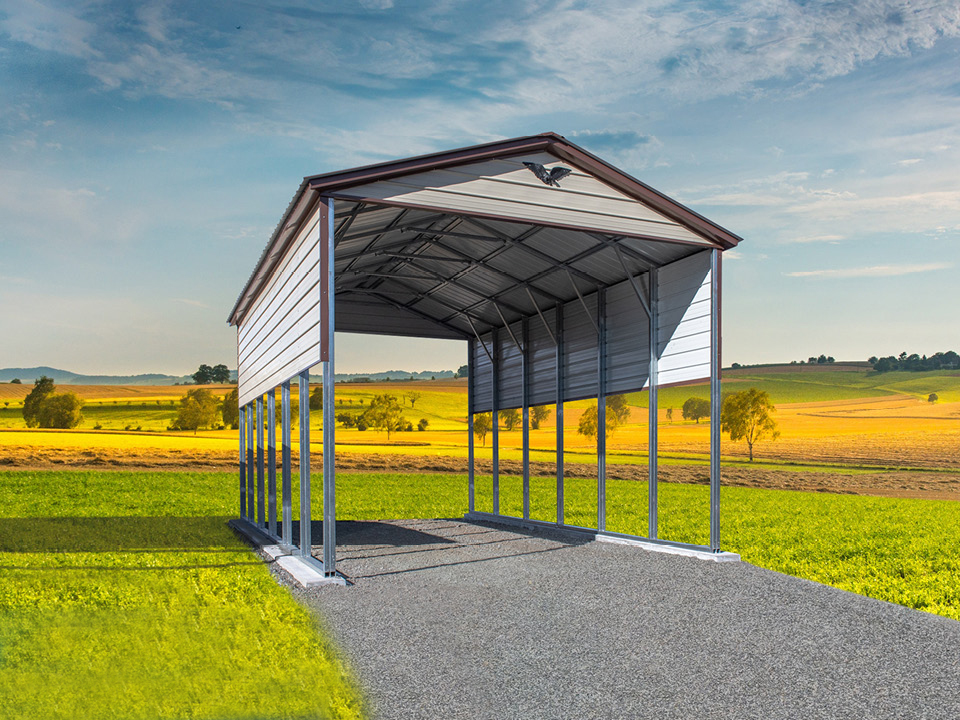
Steel buildings are commonly installed on concrete slabs, asphalt, gravel pads, or ground with appropriate anchors, depending on the building type and local requirements. The best option depends on how enclosed the structure is, what you are storing inside, and what your jurisdiction allows.
Concrete is often the preferred choice for garages, workshops, and fully enclosed buildings because it provides a clean, stable base. Gravel can work well for some agricultural or open-sided structures, especially when budget matters. Ground installation may be suitable in some cases, but only if the anchor system and soil conditions support it.
This is not a one-size-fits-all decision. The least expensive base up front is not always the most cost-effective long term. If you plan to park vehicles, use jacks, store equipment, or keep the interior cleaner and drier, investing in the right foundation usually pays off.
Step 5: Delivery and staging
Once the building is manufactured, materials are delivered to the site and staged for installation. At this point, access matters again. The truck needs enough room to enter, unload, and exit safely.
Before the crew starts assembling anything, they typically verify that the site is ready and that the delivered components match the approved order. This is the time to catch issues such as incorrect pad dimensions, blocked access, or nearby obstacles like low tree limbs or power lines.
A smooth delivery day usually reflects good preparation. When the pad is ready and the layout is confirmed, installation can move faster and with fewer interruptions.
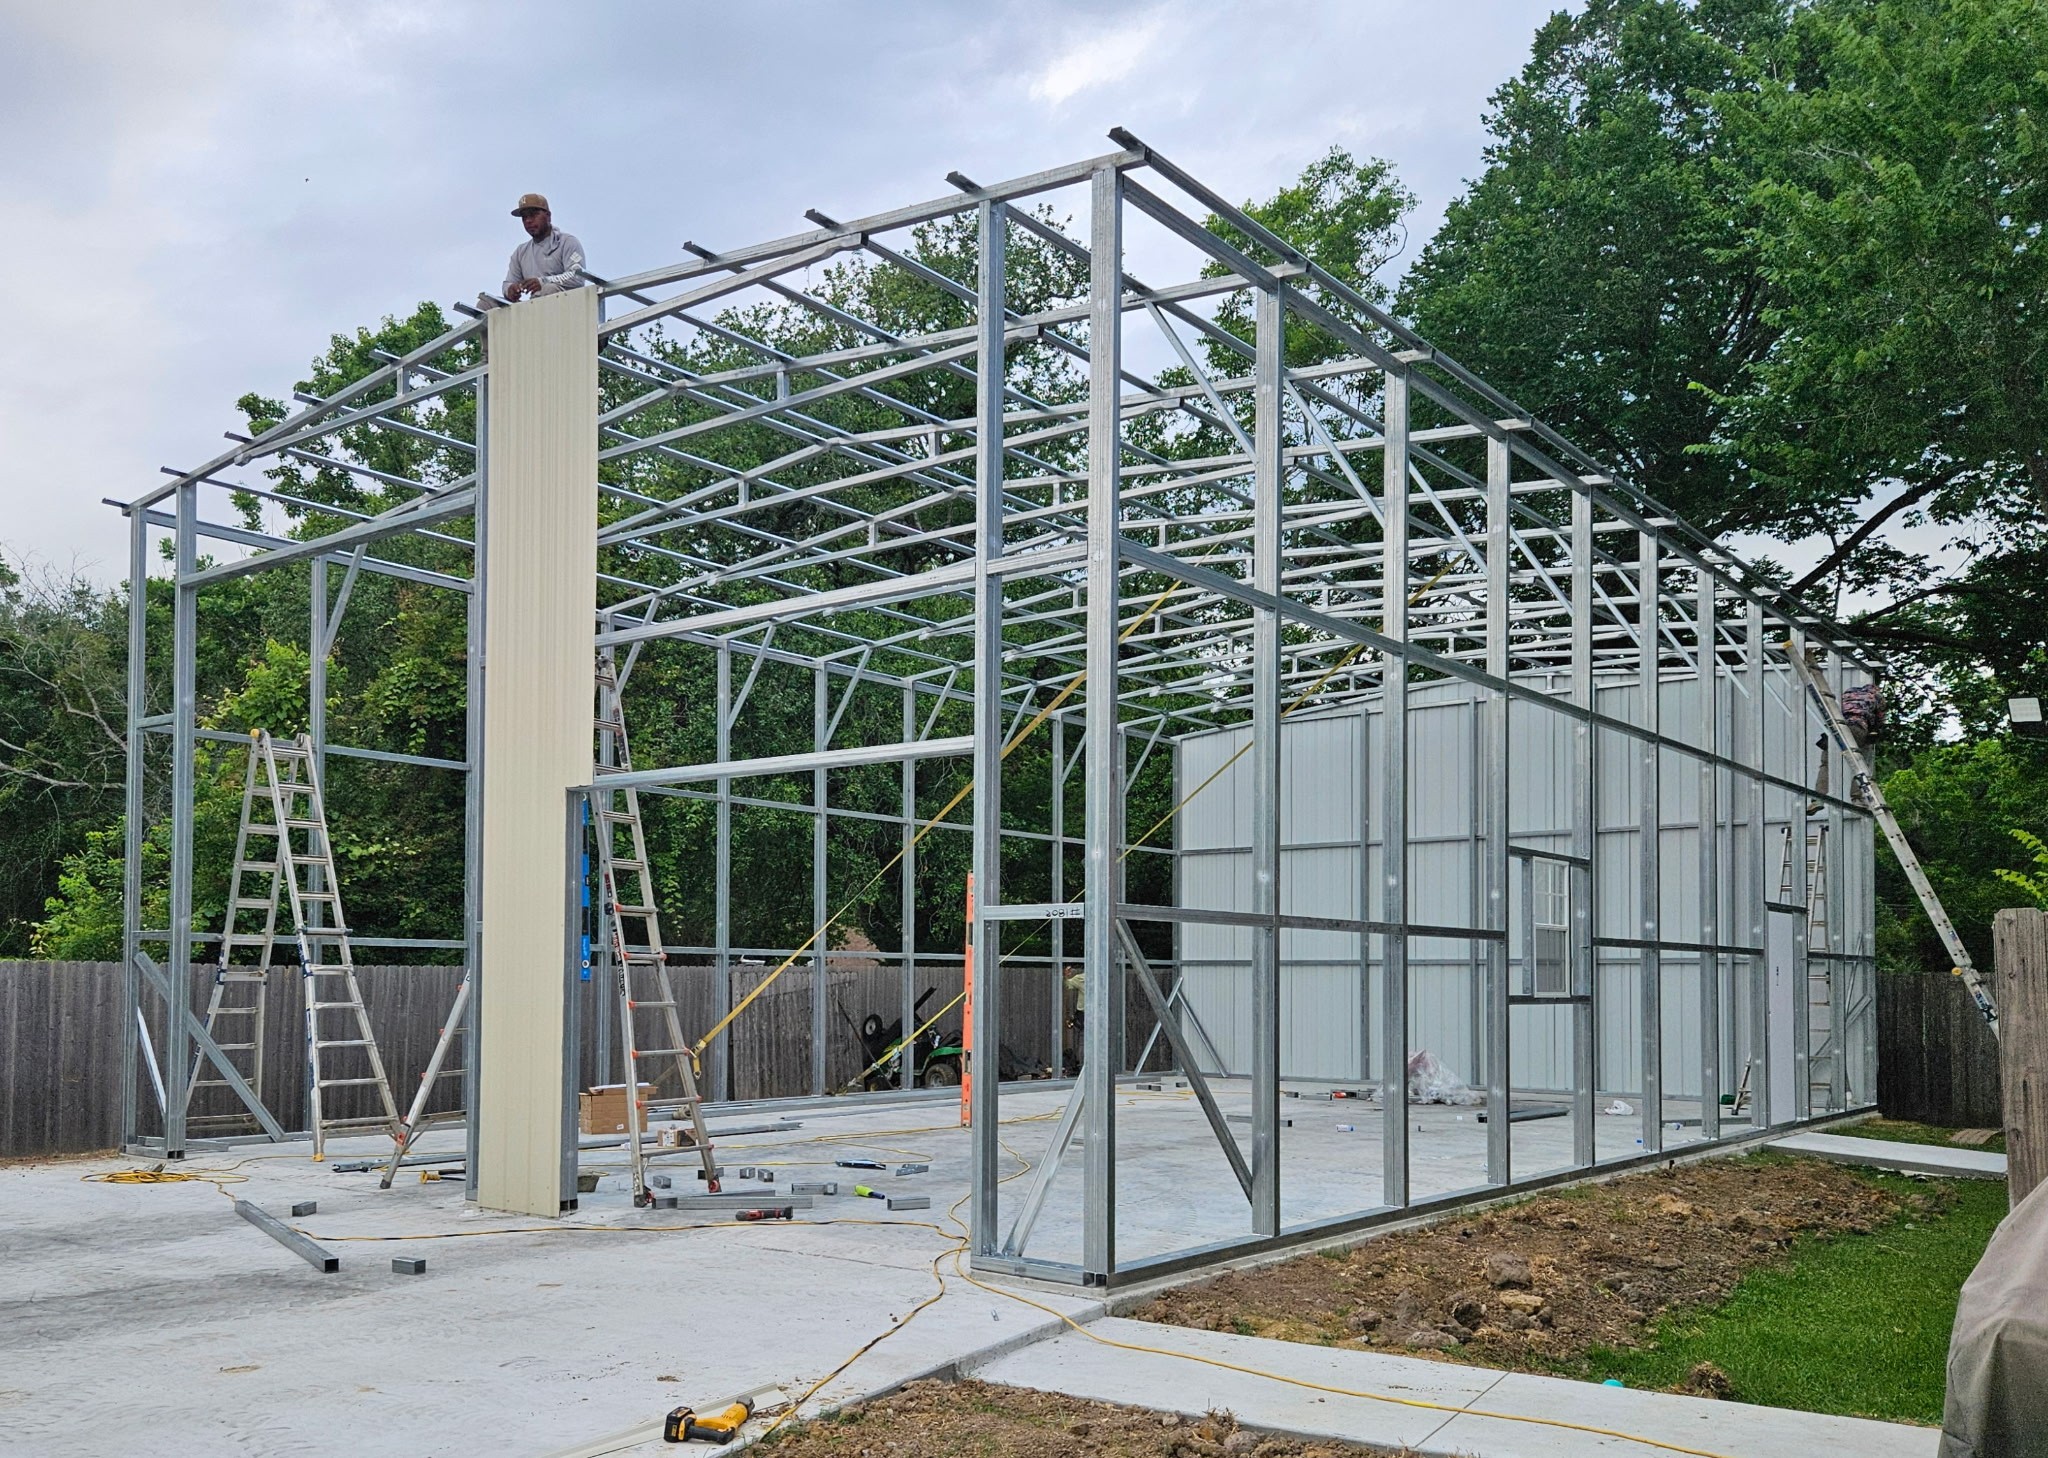
Step 6: Framing the structure
With the site ready and materials staged, the crew begins assembling the steel frame. This usually starts with base rails or perimeter framing, followed by vertical supports, trusses or bows, and roof framing components.
This is the stage where precision matters most. Squaring the frame correctly affects everything that follows, from panel fit to door operation. Even a small alignment issue early on can create bigger problems later.
For buyers, this is often the most visible part of the project because the building takes shape quickly. But speed should not be mistaken for simplicity. A well-installed steel structure depends on correct fastening, bracing, spacing, and anchoring throughout the frame.
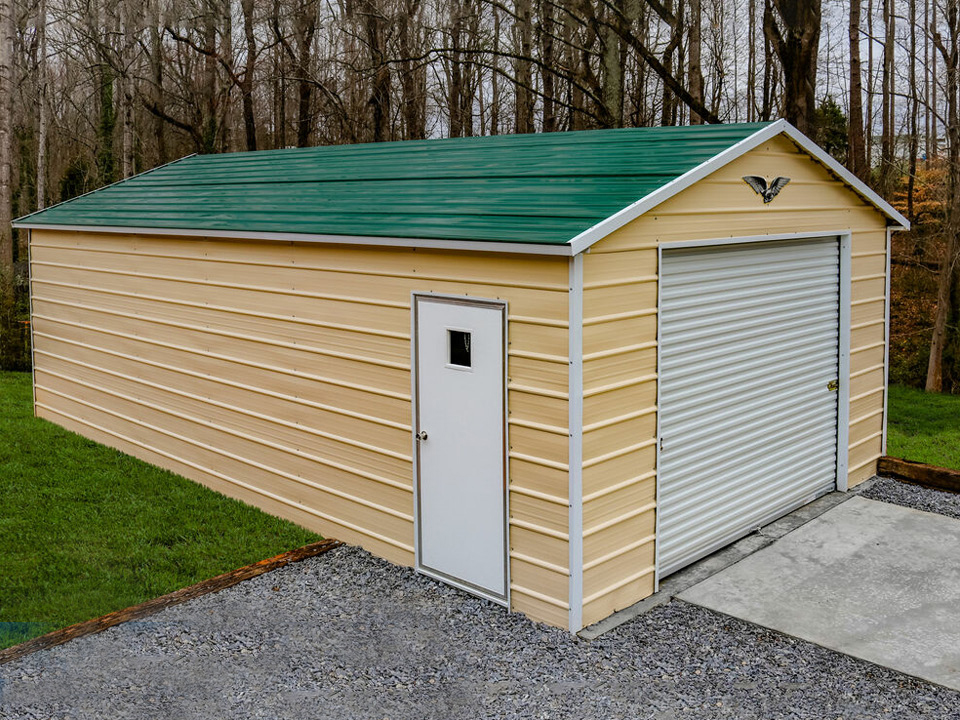
Step 7: Roof and wall panel installation
After the frame is secured, the roof and wall panels are attached. Trim pieces, ridge caps, closures, and other finishing components are installed to help protect the building from wind and weather.
Enclosed structures may also include framed openings for roll-up doors, walk-in doors, and windows. The order of installation can vary depending on the design, crew approach, and site conditions.
This is one area where material quality shows up clearly over time. Properly fitted panels and clean attachment points help reduce leaks, rattling, and premature wear. Cutting corners here may not be obvious on day one, but it tends to show up after the first heavy rain or wind event.
Step 8: Anchoring, bracing, and final checks
The final phase of the steel building installation process is about securing the structure and checking the details. Anchors are tightened and verified. Bracing is confirmed. Doors and openings are tested. The crew checks alignment, panel fit, and overall stability.
Final inspection may also include confirming that the structure meets the approved layout and that the site is left in good condition. If the building is part of a permitted project, your local authority may need to complete its own inspection as well.
This stage may feel minor compared to framing day, but it is where long-term performance is protected. A steel building should not only look finished – it should be secured for the conditions it will face year after year.
What can delay installation
Most delays come from a few predictable issues. Unfinished site work is one of the biggest. Permitting delays are another. Weather can also affect scheduling, especially when the site becomes too soft or unsafe for delivery and setup.
Design changes after production begins can create their own problems. So can underestimating site access. A rural property may have plenty of open land but still be difficult for larger trucks if gates are narrow or drive paths are unstable.
The best way to reduce surprises is to work with a team that explains the full process up front. At Essex Metal Buildings, that means helping customers think through design, site conditions, delivery, and installation before the building ever reaches the property.
What buyers should ask before installation is scheduled
Before you lock in the timeline, make sure you know who is responsible for permits, what base is required, how much clearance the crew needs, and whether the site is truly ready. You should also confirm expected lead times, weather-related rescheduling policies, and what happens if local code requires engineering documents.
These questions are not about slowing the purchase down. They are about protecting it. A steel building is a practical investment, and practical investments work best when expectations are clear from the start.
A well-installed building does more than cover vehicles or add storage. It gives you usable space that works the way you need it to, on a timeline you can plan around, with fewer surprises along the way. If you start with the right process, the finished structure tends to take care of the rest.