A workshop that looks good on paper can turn into a daily headache once the doors go up. The bay is too narrow for your tractor, the ceiling is too low for a lift, the walk door swings into your workbench, and summer heat makes the space miserable by noon. That is exactly why learning how to spec a workshop building matters before you order anything.
If you get the specifications right at the start, the building works for you for years. If you guess, you usually pay for it later in change orders, wasted space, or a setup that never quite fits the way you work. The goal is not to buy the biggest building you can afford. It is to buy the right building for your tools, vehicles, workflow, site, and budget.
How to spec a workshop building starts with use
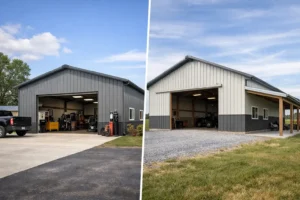
Before you think about roof style, colors, or trim, get clear on what the building needs to do every day. A personal woodworking shop, a mechanic’s bay, a farm equipment workspace, and a light commercial service building all need different layouts.
Start with the largest things that will go inside. That might be a pickup with a trailer, a skid steer, a compact tractor, shelving, welding equipment, or a vehicle lift. Measure real dimensions, including working room around each item. The footprint of your equipment is only part of the story. You also need clearance to open doors, move materials, roll tool carts, and work safely.
This is where many buyers underspec the width. A building may technically hold your equipment, but if you cannot comfortably move around it, the space will feel cramped from day one. It is usually smarter to size for use, not just storage.
Choose dimensions based on workflow, not guesswork
Width, length, and height each affect how usable the building feels.
Width controls your working lanes and side clearance. If you plan to park one truck and still have room for benches and tools, add enough space for both the vehicle and the work zone. If you want two vehicles side by side, think about how often doors will open and whether people need to pass between them.
Length matters when you work with trailers, long stock, or multiple bays in a row. A little extra length can make a building far more flexible, especially if one end becomes storage and the other stays open for active work.
Height is often the most expensive mistake to fix later because you cannot fake vertical clearance. If you may add a lift, overhead storage, larger farm equipment, or taller roll-up doors in the future, spec that height now. A workshop with generous clearance also feels more open and ventilated, which helps when the building doubles as a service space.
Think one step ahead
A good workshop spec fits your needs today and leaves room for what is likely next. If your business may add equipment, if your hobby is growing, or if you know you will eventually want enclosed storage, future flexibility is worth considering. Building slightly larger upfront is often cheaper than outgrowing the structure and starting over.
That said, bigger is not always better. A larger building increases material cost, foundation cost, and sometimes site work. The right answer depends on how certain your future needs are and how tight the current budget is.
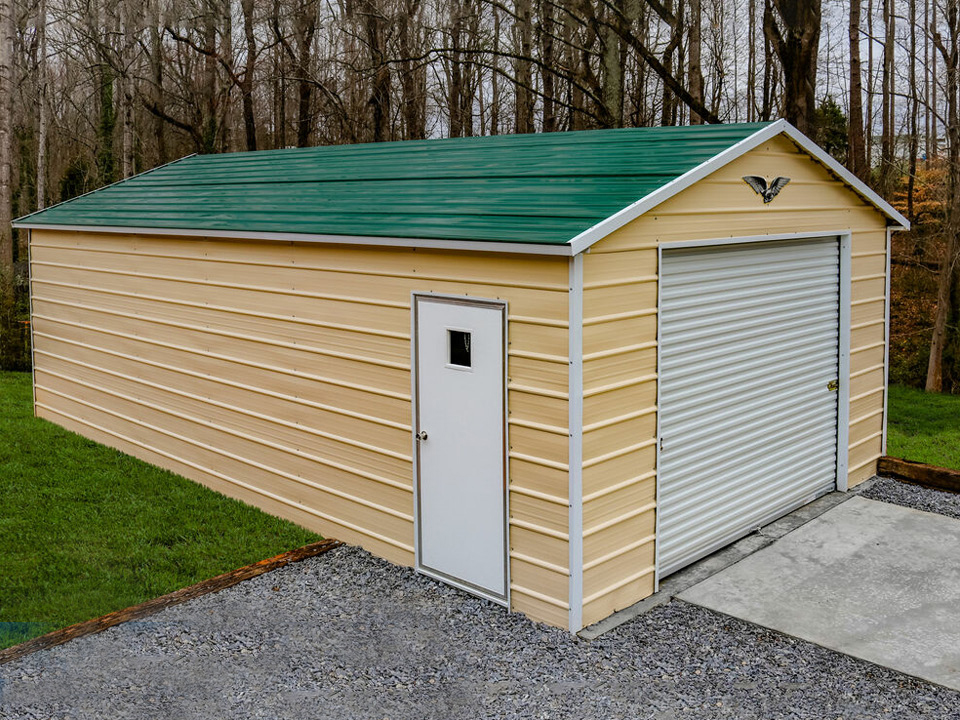
Roof style affects more than appearance
For a workshop building, roof design changes interior feel, weather performance, and long-term maintenance.
A vertical roof is often the best fit when you want strong drainage and a clean look over time. It is especially useful in areas that deal with heavy rain, snow, or debris. Water, leaves, and snow tend to shed more effectively, which can reduce upkeep and improve durability.
Lower-cost roof options may work for lighter-use buildings or milder conditions, but workshops usually see more daily use and represent a bigger investment. If the building will protect vehicles, tools, inventory, or operating equipment, choosing a roof system built for your climate is usually money well spent.
Doors and openings make or break usability
When buyers think about access, they often focus on getting equipment in once. A better question is how that access will work every week.
Roll-up doors should be sized to the tallest and widest thing that needs to pass through, with extra room for comfort. If you have ever eased a trailer through a tight opening, you know a few added inches matter. Door placement matters just as much. Put openings where your vehicles naturally approach and where interior work zones will not be blocked.
Walk-in doors are easy to overlook, but they improve daily convenience and security. If you are constantly going in and out without moving a vehicle, a dedicated entry door saves time and keeps large openings closed.
Windows help with natural light, but they need to be placed carefully. In a workshop, wall space is valuable. Too many windows can limit shelving, benches, and tool storage. A smart spec balances daylight with usable wall area.
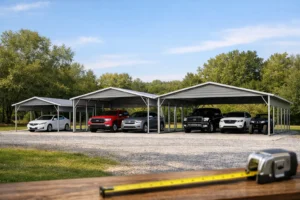
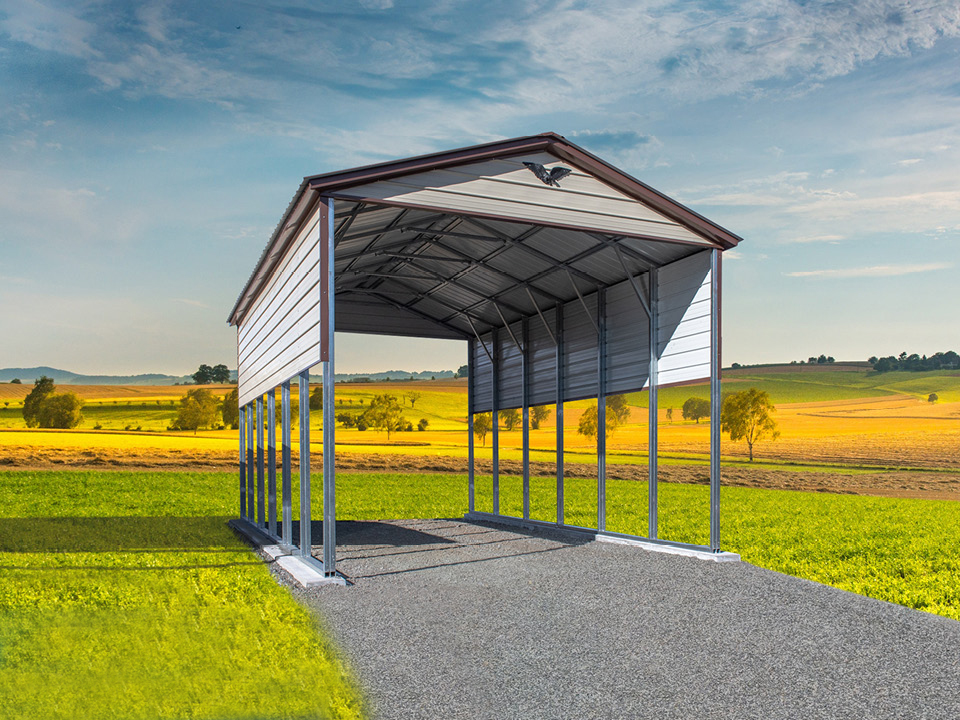
Decide how enclosed the building needs to be
Some workshop buildings are fully enclosed year-round. Others work well as partially enclosed spaces with open bays or lean-tos for added covered storage. The right setup depends on what you do inside.
If you are protecting power tools, parts, and finished materials, a fully enclosed building usually makes the most sense. It offers better security, weather protection, and climate control options. If part of your work involves washing equipment, staging materials, or storing items that do not need full enclosure, an open-sided section can add affordable function.
This is one of the biggest trade-offs in how to spec a workshop building. Full enclosure costs more, but it gives you a more versatile space. Open sections cost less per square foot, but they are not ideal for everything.
Insulation, ventilation, and climate control matter early
A workshop that bakes in summer and sweats in winter is harder to use and harder on your equipment. Even if you are not planning full HVAC right away, think ahead about insulation and airflow.
Insulation helps regulate indoor temperature and can reduce condensation, which is especially important around tools, vehicles, and metal components. Ventilation helps remove heat, fumes, and moisture. Ridge vents, gable vents, and well-placed openings can make a noticeable difference in comfort.
If you weld, paint, use compressors, or spend long hours inside, comfort is not a luxury. It affects how productive the building will be. A basic shell may save money now, but upgrading climate performance later can be more complicated if the original design did not account for it.
Plan the slab and site with the building in mind
A good workshop building is only as good as the pad it sits on. Site prep is not the exciting part of the purchase, but it affects drainage, installation, and how long the structure performs well.
The site should be level, accessible for delivery and installation, and graded to move water away from the building. Poor drainage creates problems fast, from muddy access to water intrusion around the perimeter.
For enclosed workshops, concrete slab planning deserves special attention. Think about thickness, anchor requirements, drainage, and whether you need reinforced areas for lifts or heavier equipment. If utilities are coming in, plan those before the slab is poured. Electrical runs, plumbing, floor drains, and air lines are much easier to handle early than after the building is installed.
Local code and permit requirements are part of the spec
A workshop building is not just a product choice. It is also a local compliance project.
Permit requirements can affect dimensions, wind and snow load ratings, anchoring, setbacks, and foundation details. What works in one county may not work in another. This is where working with an experienced team helps because the quote should reflect the actual installation environment, not just a generic building size.
Skipping this step or assuming all metal buildings are basically the same can cause delays and surprise costs. A well-specified building is one that is designed for your location as much as for your floor plan.
Budget for the full project, not just the frame
When comparing prices, buyers sometimes focus only on the building package. The real project cost includes site prep, concrete, permits, delivery, installation, insulation, doors, and any utility work.
That does not mean you need every upgrade at once. It does mean you should separate must-haves from nice-to-haves. The must-haves usually include proper size, correct height, site readiness, code compliance, and the access points you truly need. Cosmetic choices and some interior upgrades can come later.
A transparent quote makes this easier. If you can see where the money is going, you can make trade-offs with confidence instead of cutting the wrong feature.
Work backward from your daily routine
The simplest way to spec a workshop building well is to picture a normal day inside it. Where do you enter? Where does the vehicle stop? Where do materials go? Where are the benches, shelves, and outlets? What needs to stay dry, secure, or climate controlled?
That exercise usually reveals the right dimensions and features faster than comparing generic building packages. It also helps you avoid paying for options that look useful but do not solve your actual needs.
If you want a smoother path from idea to installed building, Essex Metal Buildings can help you turn those practical decisions into a custom design that fits your property and the way you work. The best workshop spec is not the most complicated one. It is the one that makes your day easier every time you walk through the door.