

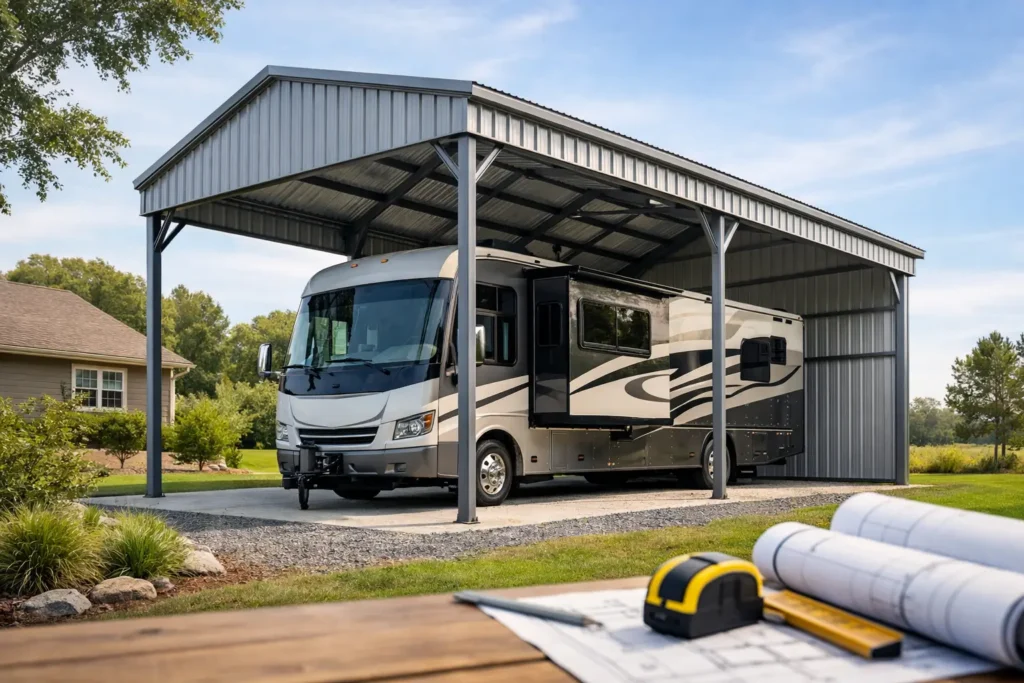
Your RV is built to take you farther, but leaving it exposed between trips can shorten the life of the finish, roof seals, tires, and interior. If you are researching how to plan RV cover dimensions and features, start with the real goal: creating dependable clearance, weather protection, and access for the specific rig you own – without crowding your property or paying for space you will never use.
A steel RV cover can be a straightforward investment when it is planned around your vehicle, local conditions, and daily use. The best design is not always the biggest one. It is the one that fits your RV comfortably, directs water away from the site, stands up to local weather requirements, and leaves room to park with confidence.
Start With Your RV’s Real Measurements
Do not rely only on the model name or a brochure specification. Measure the RV you intend to protect, including every feature that adds height, width, or length. Air-conditioning units, antennas, satellite equipment, ladders, rear-mounted bike racks, bumpers, and tow accessories all matter when choosing a cover.
Measure the full length from the frontmost point to the rearmost accessory. For width, include mirrors when they cannot be folded in during storage. Height should be measured from level ground to the tallest permanent point on the RV. If your driveway or pad slopes, account for the height difference created when the vehicle is parked.
Then add usable clearance. A cover that matches your RV’s exact dimensions may look efficient on paper, but it can make parking stressful and leave little room to move around the rig. Most owners benefit from extra width on both sides for opening compartments, cleaning, and walking through. Extra length makes it easier to pull in without stopping precisely at the front edge. For height, allow enough room to clear rooftop equipment comfortably rather than threading the RV beneath the roofline.
Your local installer or building specialist can help verify practical clearance, especially for taller fifth wheels, Class A motorhomes, and RVs with accessories that may change over time.
Choose a Cover Size That Fits How You Use It
An RV cover should protect more than the roof. Think about what happens before and after a trip. Do you need space to load gear, open slides for cleaning, connect shore power, or check tires? Is the RV parked for a few weeks at a time, or stored all winter? Those answers influence the footprint.
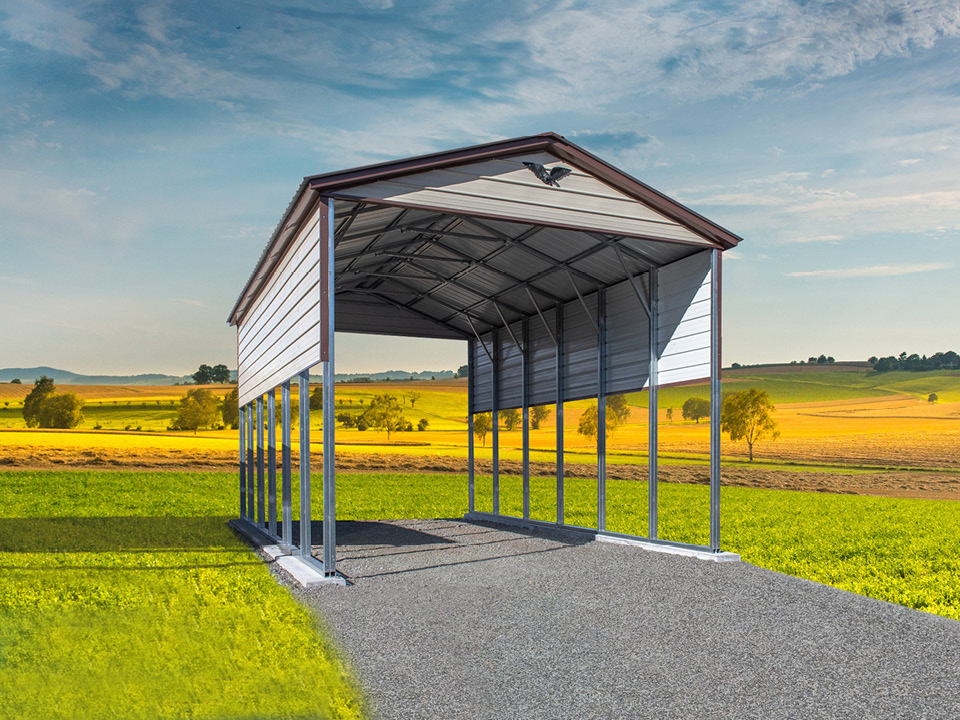
A simple open-sided cover is often a strong choice for owners who want reliable overhead protection and easy pull-through access. It helps shield the RV from direct sun, rain, snow, falling debris, and hail exposure, depending on the structure’s certified specifications. Open sides also improve airflow, which is useful in humid areas where trapped moisture can create problems.
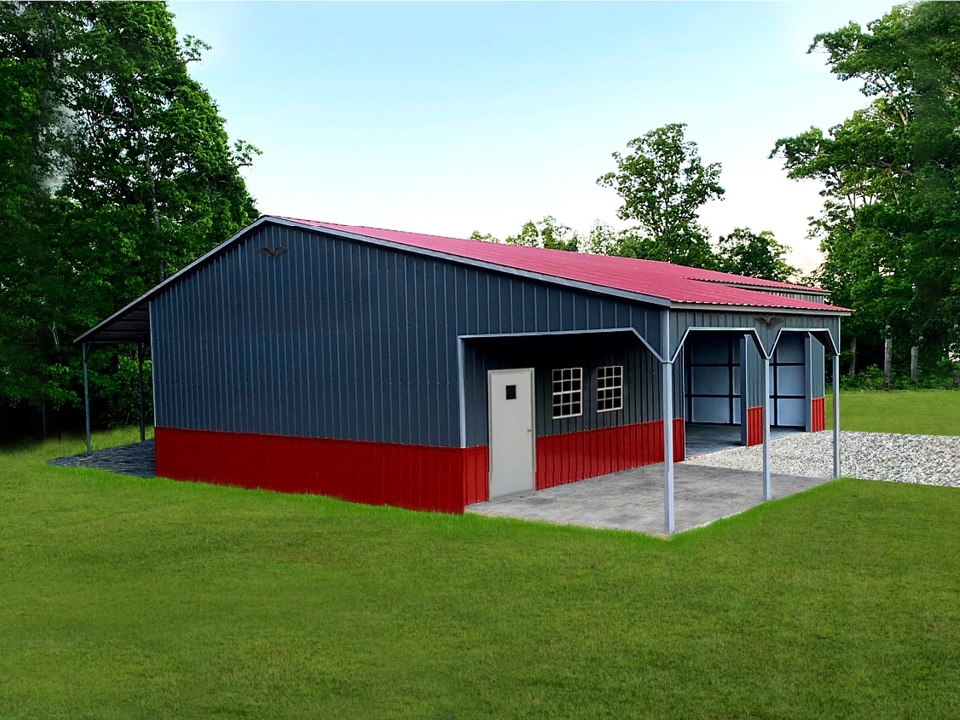
If wind-driven rain, snow accumulation, or security are larger concerns, consider adding side panels, gable ends, or a fully enclosed garage-style structure. More enclosure can provide greater protection, but it changes the budget, site requirements, and access plan. A partially enclosed RV cover often gives property owners a practical middle ground.
When deciding on width, length, and height, consider these four planning questions:
- Will you keep the same RV for several years, or upgrade to a larger model?
- Do you need room for a second vehicle, boat, utility trailer, or outdoor equipment?
- Will you enter from one end, drive through, or back into the space?
- Do you need to access storage bays, slides, or utility connections while parked?
Planning for a likely upgrade can be smarter than replacing an undersized cover later. Still, avoid automatically oversizing the building. Larger structures require more materials, a bigger site, and potentially more permitting work. The right size balances future flexibility with today’s budget and property layout.
Plan the RV Cover Roof for Local Weather
Roof style is not only about appearance. It affects drainage, interior clearance, wind performance, and the way the cover works on your property.
A regular roof is often a cost-conscious choice in areas with milder conditions. An A-frame horizontal roof creates a more traditional profile, with panels running from front to back. An A-frame vertical roof positions the panels from the ridge down toward the eaves, allowing rain, snow, leaves, and debris to move off more efficiently. For many RV owners, particularly in areas with frequent rain or snow, the vertical roof is worth considering for its drainage advantages and cleaner long-term maintenance.
The roof should also be selected according to the wind and snow requirements for your location. These requirements are not optional add-ons when conditions demand them. They help ensure the structure is engineered for the area where it will be installed. A local expert can explain which certified options apply to your county and site.
Pay attention to roof overhangs and drainage. Water should shed away from the RV parking area and away from the building’s base. If runoff will land near a driveway, walkway, or neighboring structure, plan for that before installation. Gutters may be useful on certain enclosed or partially enclosed designs, but they require a clear drainage path and periodic cleaning.
Select the Right Site Before You Design
A great RV cover design cannot overcome a poorly prepared site. Before choosing colors or upgrades, identify where the structure can sit with enough room for delivery, installation, and RV movement.
The site should be reasonably level, accessible to equipment, and clear of low branches, overhead utility lines, septic systems, drainage features, and easements. You also need enough turning space to bring the RV in and out without cutting across soft ground, fences, landscaping, or corners of the building.
Concrete is a popular foundation choice because it provides a stable, clean parking surface and makes it easier to anchor the structure properly. Gravel can work for some projects when it is compacted, graded, and prepared correctly, but it may require additional consideration for anchoring and long-term drainage. Dirt sites may be possible in certain situations, yet they generally need more preparation to prevent rutting, settling, and standing water.
Check local setback rules before finalizing your layout. A cover that fits physically may still need to meet property-line distances, height restrictions, homeowner association guidelines, or permitting requirements. It is far easier to adjust a digital design than to move a structure after the site is prepared.
Add Features That Make Ownership Easier
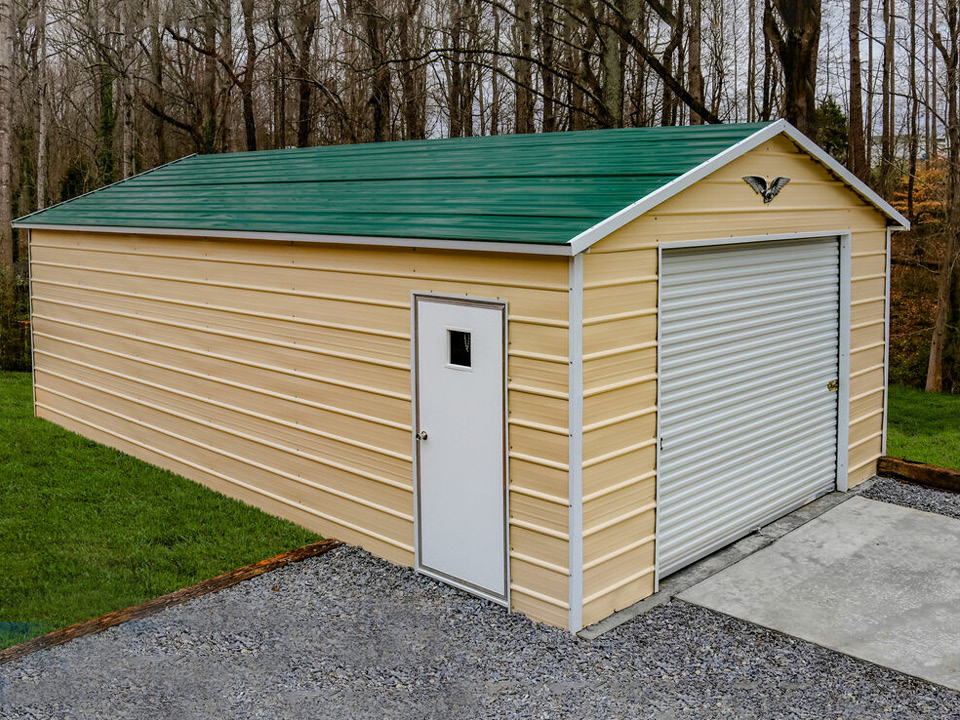
The most valuable upgrades are the ones that solve a real problem on your property. For example, a taller opening may be necessary for a high-profile RV, while a longer enclosed wall can help block prevailing weather. A framed opening, garage door, walk-in door, or window can make sense if you plan to use part of the building for storage or maintenance.
Paneling is another decision worth making carefully. Side panels can reduce sun exposure and wind-blown rain, while gable ends add protection at the front and rear. If you need easy access, keep the drive-in side open and avoid placing panels where they interfere with turning or door clearance.
Color choices can coordinate with a home, barn, or existing outbuilding, but practical considerations matter too. Lighter roof colors may reduce heat buildup in sunny locations, while darker colors can show dust and pollen differently depending on the region. Focus first on structure, certification, and layout. Finish selections should complement a sound plan, not replace one.
Build Your RV Cover Plan With Confidence
A custom RV cover should feel like a solution, not another construction project to manage alone. Bring your RV measurements, a few photos of the intended site, and your must-have features to the planning process. Be clear about how you park, what weather you face, and whether the cover needs to serve more than one vehicle.
At Essex Metal Buildings, our team can help you turn those details into a made-to-order design with transparent guidance on sizing, roof options, site needs, and installation. You can start with a practical layout, adjust it around your property, and request pricing before committing to a final configuration.
Give your RV room to come home safely after every trip. A well-planned cover protects the investment you already made and makes the next departure that much easier.